How can I prepare an item photo with GIMP?
Last update: 22 May 2023
As mentioned in the article “How can I add a photo to the catalogue?”, it is necessary to prepare the photos before adding them to the catalogue, so that the main object of the image is correctly put forward. Even if the tablecloth of your grandmother is beautiful, only the coin interests us and not what is around. A small clipping and cropping of your image may then be necessary.
For this you can use any software or image processing program. Below we show you the basic steps to follow with GIMP, a free program available here and supported by the majority of operating systems (Windows, Mac OS, GNU/Linux, etc.).
Once the program is downloaded and installed, open your raw image file with GIMP. For illustration purposes, we start from the image below which obviously can not be added as is.

We have to isolate the obverse and reverse that are here on the same image and get rid of these black features surrounding the image. To do this, select the Ellipse tool, highlighted in red at the top left on the image below. With the tool now enabled, select the area of the image you want to keep. This implies that the part of the coin (obverse or reverse) must be entirely inside the selection square as shown below. If a part of the coin is outside the selection square, simply place your mouse on a corner of the square to stretch the selection area.

The part we want to keep is now selected, but rather roughly. To refine our selection, use the GIMP magnification tool, highlighted in red on the following image.

The magnification will allow you to refine your selection by moving the limits of the selection square. For example, moving the side of the square to the left as suggested by the arrow below.

Now that your selection is refined, create a new file in GIMP. The size of this new file is not important because we will then crop the image, and for simplicity you can use the same size as your original file or larger to be more comfortable. Depending on your configuration, you can do this quickly by using keyboard shortcut Ctrl + N on Windows or Cmd + N on Mac.

Once this new file created, you will see it then appear in miniature, framed in red on the image below. While staying on the image file on which you have just refined your selection, right click on the image and select Cut in the menu that opens. The area you have selected disappears from the image as shown below. You can also do this faster by using keyboard shortcuts Ctrl + X on Windows or Cmd + X on Mac.

Select the new file you created (remember the red frame above), then right-click in the new file and select the Paste option. The selection that you made disappear from your initial file, then appears on the new one. You can also do this faster by using the keyboard shortcuts Ctrl + V on Windows or Cmd + V on Mac.
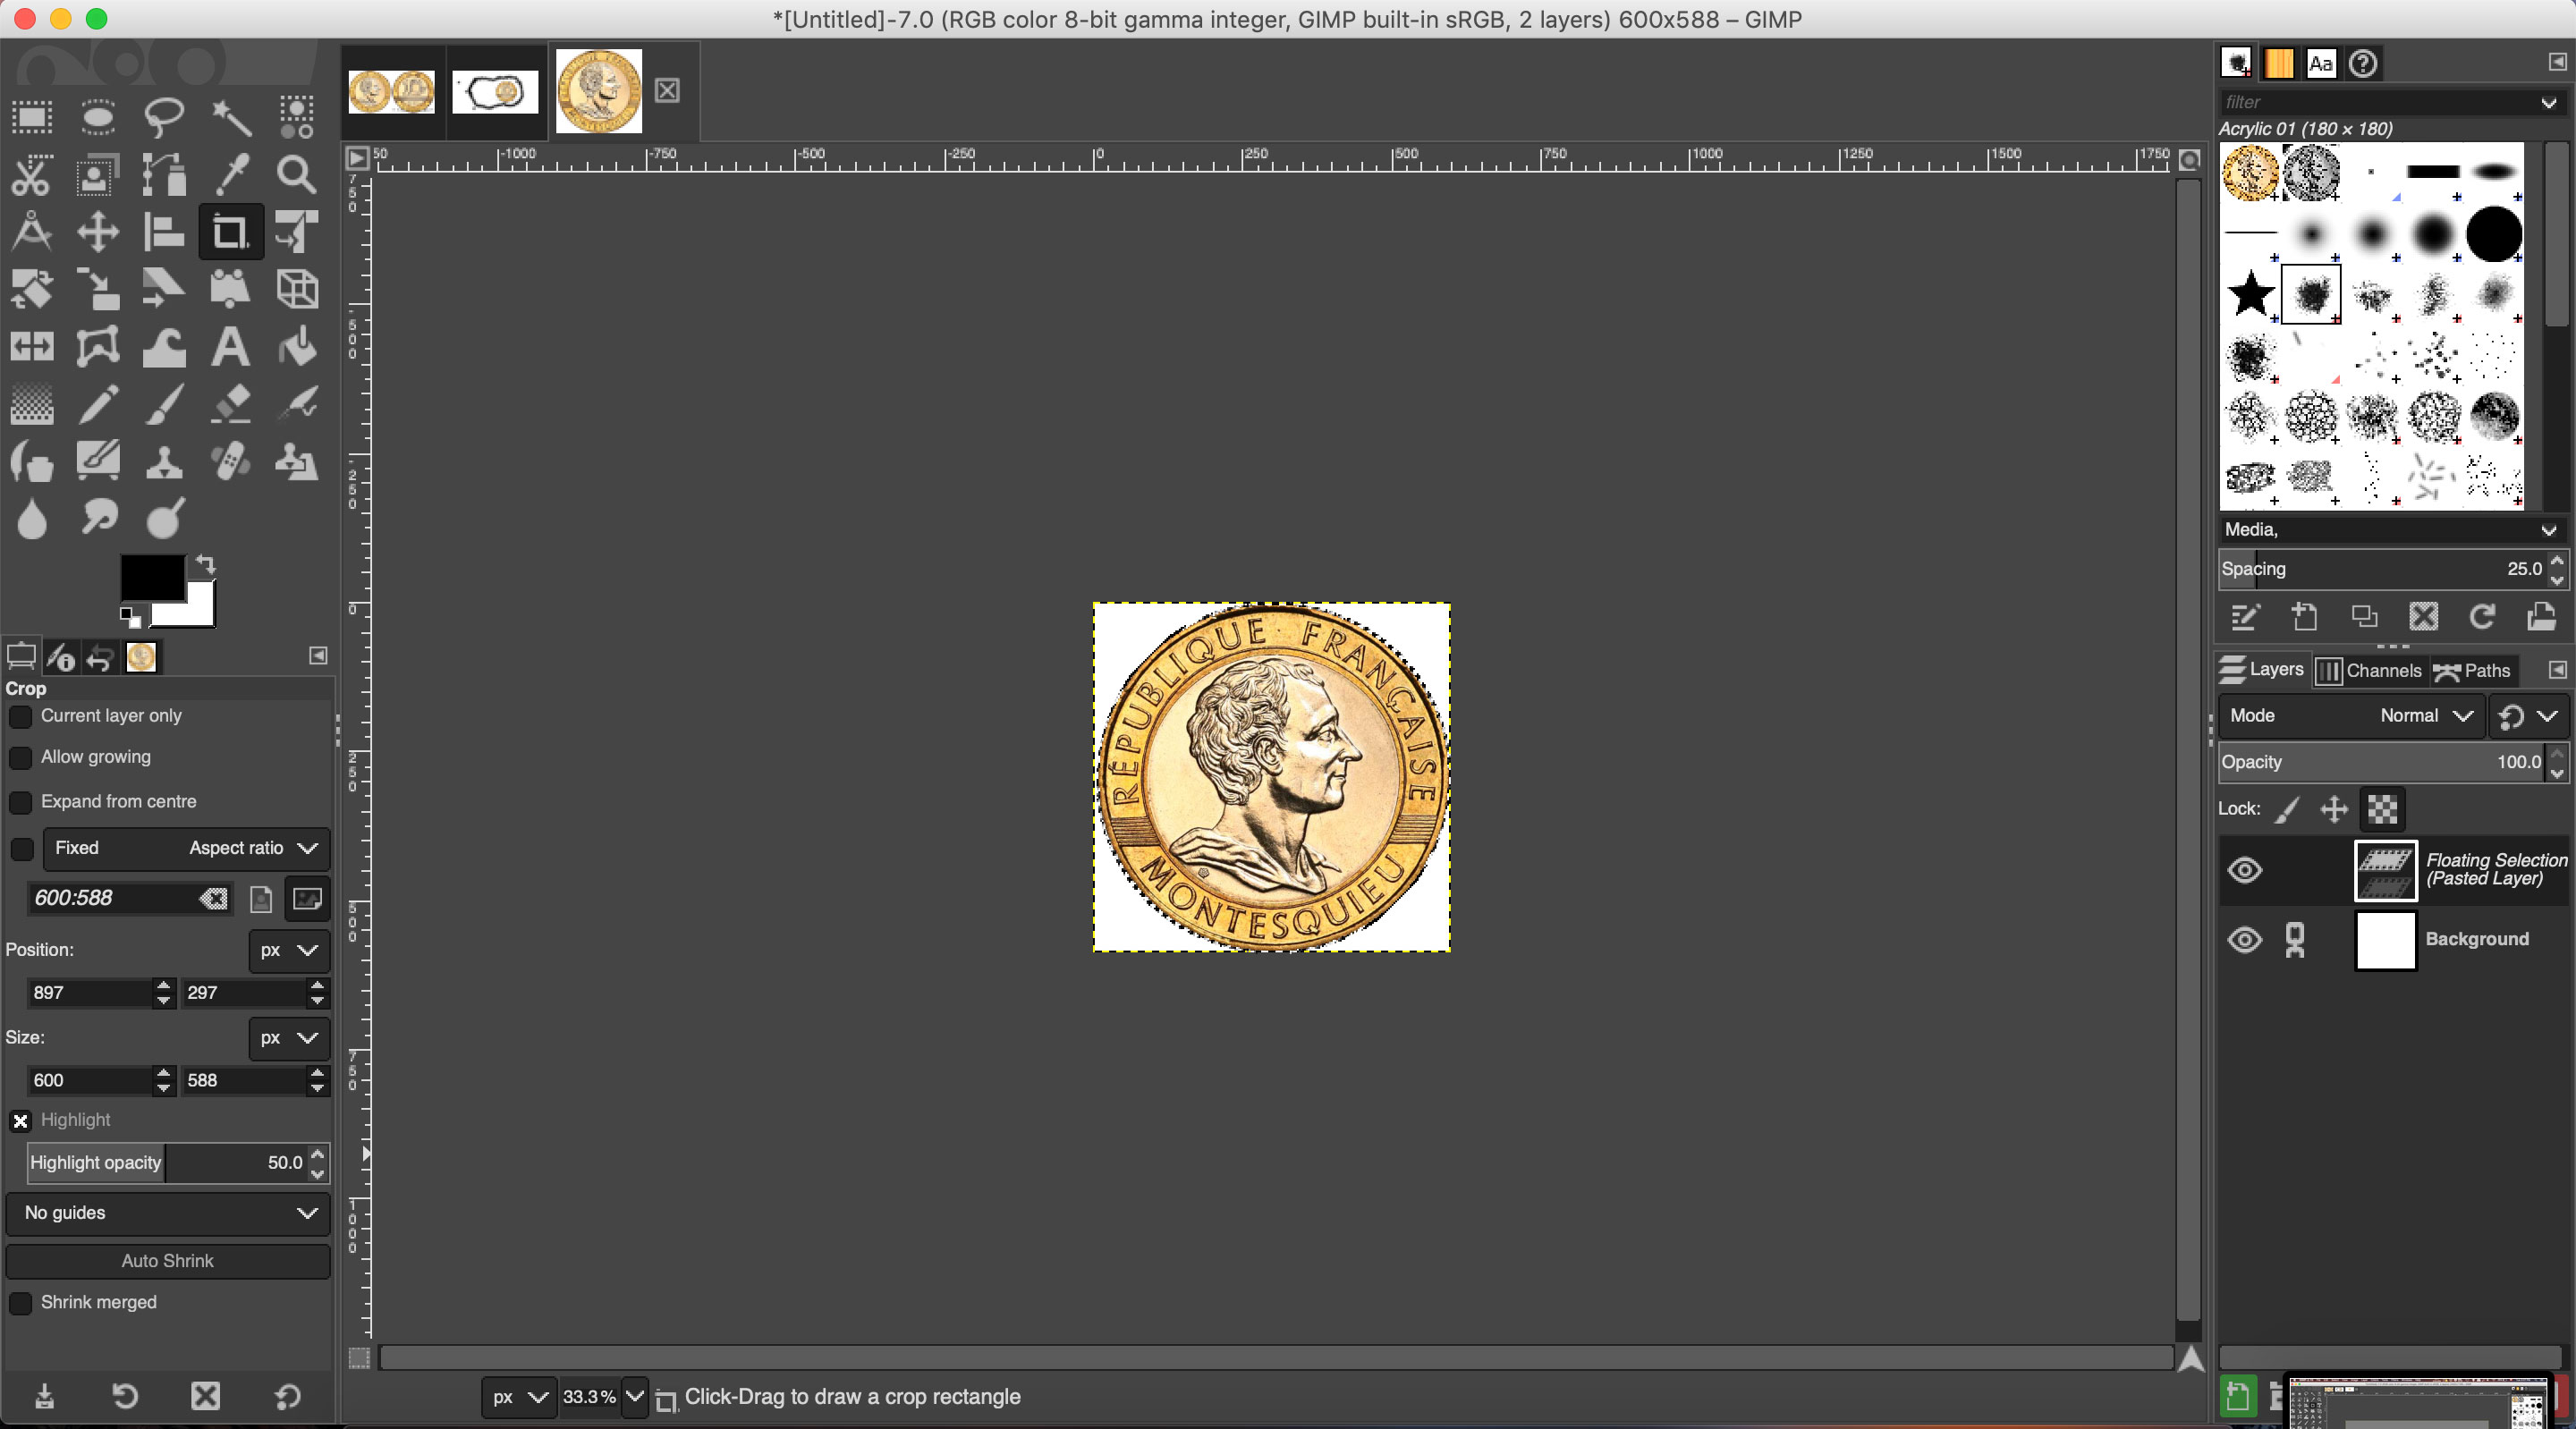
You can now select the cropping tool, framed in red on the left below. Once the tool is active, and as for the Ellipse tool used at the beginning, select an area of this new file which obviously includes the image of the coin.
Note that if GIMP prevents you from selecting an area of the image, it indicates that the image you just pasted is locked. To unlock it, simply click on the small checkerboard, framed in red on the right on the image below. You can then use the cropping tool without problems.

Once the area is selected, you can then refine the selection to be cropped by adjusting the selection square to the room on the image. The image below shows the fit of the square on the right but not yet on the left nor on the top or bottom.

When your selection is correctly adjusted to the coin as shown below, simply press the Enter key on your keyboard.

You have finished clipping and cropping your image and can now save it or export it in a format of your choice via the File menu of GIMP.
This method allows you to easily and quickly clip and crop round coins. For other shapes, you can use the different GIMP selection tools instead of the Ellipse one, including the Rectangle or Free Selection tool. These will then allow you to adjust your selection on the raw image used at the beginning; the following steps remaining the same as those illustrated above.